Buying Guides
Which Hand Should You Wear a Chainmail Glove On?
During manual knife work the chainmail glove usually goes on the hand holding the meat, not the knife. Here is how to decide for your task — and what to do about the knife hand.
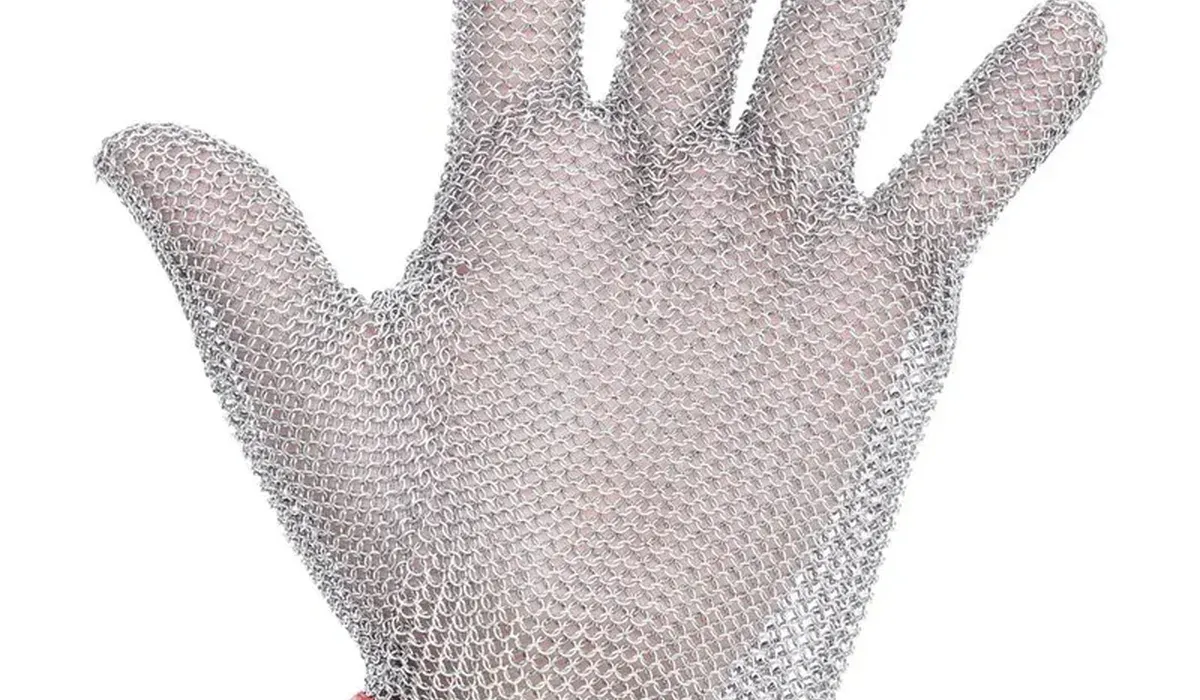
During manual knife work, a chainmail glove usually goes on the hand holding the meat. Whether that means your left or your right hand depends on which hand holds the knife for the task.
The rule is simple once you name the knife hand first: the glove protects the hand that steadies, turns and repositions the meat, because that hand sits in the path of a slipping blade even though it never holds the knife.
This guide shows you how to decide for your task, what to do about the knife hand, and when the risk runs past the wrist. It covers manual knife work only. It is not a recommendation for band saws or other powered cutting machinery. Get the hand wrong, and the glove protects the hand that least needs it.
Start With the Hand Holding the Knife
Name the knife hand first, and the glove hand follows. If the knife is in the right hand, the left hand is the non-knife hand, and the glove goes on the left.
If the knife is in the left hand, the right hand is the non-knife hand, and the glove goes on the right. The glove follows the knife, not the person, so the same worker can need the glove on a different hand for a different task.
"Wear it on your weaker hand" is a less useful rule. People may change hands for particular tasks, and a worker who is right-handed for one cut can be left-handed for another.
If an operator switches the knife between hands, the protection arrangement needs to account for both hands' exposure, not just one. Ask which hand holds the knife for this task, on this line, today — and put the glove on the other one.
Our five-finger wrist gloves fit the left hand or the right hand, so one glove covers either side. Before first use, confirm how the chosen glove should be reversed and fastened, because the fit and the closure sit differently once the glove is turned.
Do not assume a glove that fits one hand fits the other without that check. The reversal is part of putting the glove on correctly, not a detail to skip.
A glove that is on the wrong hand is worse than no system at all, because the team believes the risk is covered. Check the hands at the start of the shift, the same way you check the knife. The check takes seconds, and it is the only part of this guide that cannot be fixed after the cut.
Why One Glove Is the Usual Answer
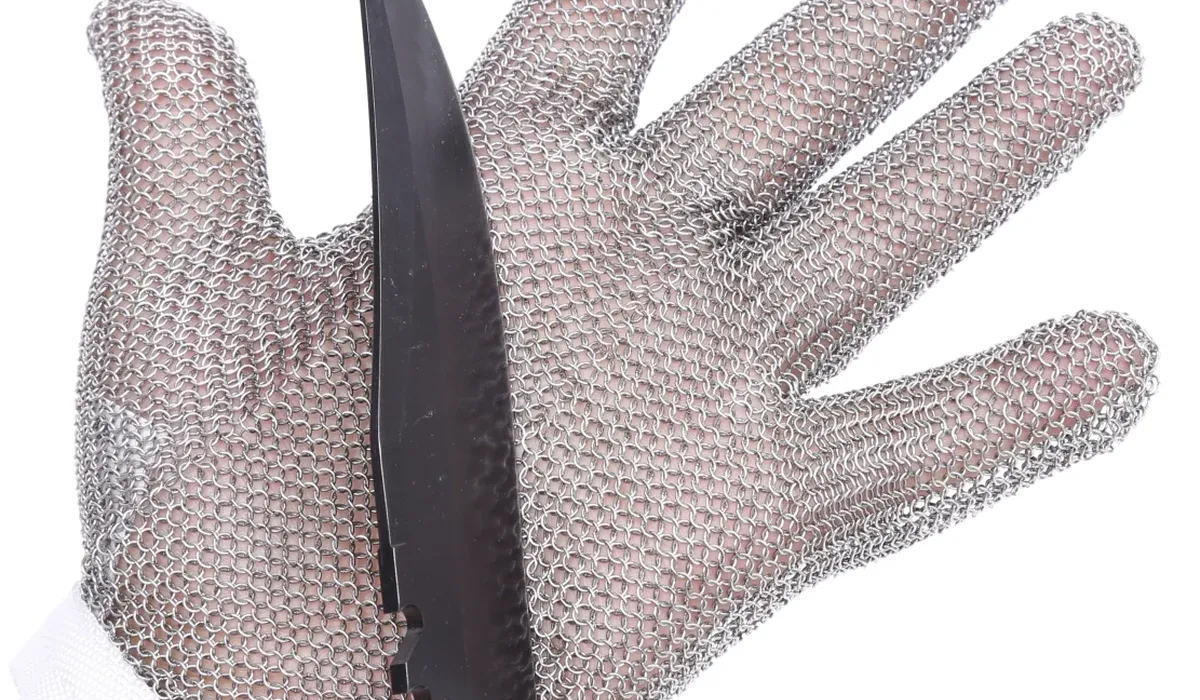
One hand controls the knife. The other steadies, turns and repositions the meat. That second hand can be in the path of a slipping blade even though it never holds the knife, and that is why one chainmail glove is so common on a cutting line: it protects the hand that cannot get out of the way.
Knife accidents usually involve the non-knife hand and fingers. That is the finding behind kitchen knife guidance, and it matches what cutting lines see every day: the blade slips toward the hand that holds the product, not the hand that holds the handle.
For deboning, the guidance recommends a suitable protective glove on that hand, and that recommendation is the practical reason a single chainmail glove is often worn on the hand holding the meat.
The glove does not make the hand safe on its own. Training, a suitable knife, a stable cutting position and safe hand placement still matter, and a glove on the wrong hand does not fix a bad position.
The glove is one part of safer knife work, and the part it plays is narrow: it stands between the blade and the hand that holds the meat.
One glove also keeps the work moving. A chainmail glove on the holding hand leaves the knife hand free to work the blade with full control, and the team does not have to manage two mesh gloves for every cut.
That is a practical reason, not a protection reason, but on a line that runs all day, the practical reason decides whether the glove is worn at all.
What About the Hand Holding the Knife?
One chainmail glove does not mean one unprotected hand. The knife hand can also be injured, including if it slips off the handle towards the blade. The hand that holds the knife is not safe because it holds the knife. It is exposed in a different way, and it needs its own answer.
Workplace guidance for meat and food work recommends cut-resistant gloves on the knife hand, and a mesh gauntlet or a mesh glove with an arm guard on the non-knife side.
You may therefore see two different gloves in use on the same worker: a knitted cut-resistant glove where the knife is held, and chainmail where the meat is held. That is not a contradiction. It is two hands with two different exposures, each with its own glove.
If you are comparing the materials, read the chainmail-versus-knitted comparison first, because the choice between chainmail and fibre is a separate decision from the choice of hand.
A knitted glove's cut rating alone does not answer whether it gives the knife-point protection a task needs, and a chainmail appearance does not establish an untested product's performance. Read the protection stated for the actual glove, and do not assign it a level it does not carry.
The knife hand's glove must also fit the work. A glove that is too thick for the handle, or that slips on the grip, creates a new risk while it answers the old one.
Try the shortlisted glove in a supervised workplace evaluation appropriate to the task, and do not test a glove with a blade while someone is wearing it.
When the Risk Runs Past the Wrist
A glove ending at the wrist leaves the forearm uncovered. Some cutting movements expose more than the fingers and the palm — reaching into a carcass, handling large cuts, working deep inside — and a wrist glove does not answer that exposure.
The task determines the coverage, and seeing a wrist glove in one photograph does not tell you it is enough for every trimming or deboning job.
When the risk runs past the wrist, look at the longer formats. Our 1201 and 1301 series are extended-cuff gloves, each in 8 cm, 15 cm or 20 cm cuff lengths, with the same AISI 316L stainless steel rings, 3.81 mm across, linked with 0.52 mm wire.
The 20 cm length is the certificate reference value, so confirm availability when you order. Add an apron when the torso is exposed too.
The cuff length is chosen by the task, not by habit. A cuff that is too short leaves the forearm in the blade's path, and a cuff that is too long gets in the way of the work.
Measure the exposure the same way you name the knife hand: by the task, on this line, today. The glove that covers the wrist and the glove that covers the forearm are different answers to different exposures.
Three-finger gloves exist for work where only the thumb, index and middle fingers need mesh, and they follow the same hand rule: the glove goes on the hand holding the product.
Our 3101 and 3201 are three-finger models, and neither holds a CE certificate, so do not write a CE claim for them. The hand rule does not change with the finger count. Only the coverage does.
Your Next Step: Check Both Hands Before You Order
Write down three things before you ask for a quote. Which hand holds the knife for the task, and whether anyone on the line switches hands. Whether the knife hand also needs a cut-resistant glove, and which type. Whether the risk runs past the wrist, and how far up the forearm it reaches.
Those three lines decide the glove, the hand and the coverage, and they are enough for us to confirm the match without a second round of questions. Send them with the model you lean toward, your size and quantity to sales@steeloramesh.com, and we will confirm which model fits, list any evidence still missing, and reply within 1 working day.
Enquiry checklist
Which hand holds the knife, and does anyone switch hands.
Whether the knife hand needs a cut-resistant glove too.
Whether the risk runs past the wrist, and the cuff length needed.
Glove model and size, with the hand it will be worn on.